
Assetto Corsa is a car racing game with emphasis on realism. It's basically what I'm trying to do for the Oculus Quest, except it doesn't run on the Oculus Quest. What it does have is a thriving community of freely-available cars and tracks on assettocorsa.club. It is these free tracks that we'll be looking at importing into Godot.
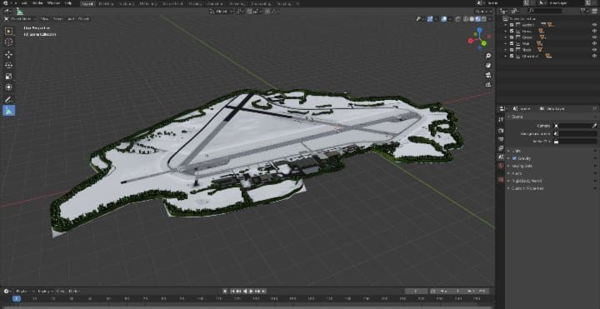
I started by importing Cadwell Park as it is quite small (good for the Oculus Quest) but still interesting, and I've also done a trackday there in real life. You can watch a video of me driving around Cadwell Park in the game if you want. I deleted half the trees, most of the vehicles, the crowd, etc. as I was really keen to keep the polygon count low. It still lags a bit in places but performance is basically acceptable.
What follows is a "guest post" by Quy Nguyen, who took the trouble to explain all this to me via email but does not have a website to publish it on. I'd add to it:
- If you export from Blender in glTF format instead of FBX then you don't need to apply textures in Godot as it picks them up automatically.
- Sometimes some triangles have normals inverted after importing into Godot. I still have not tracked down why, it is possible that it is related to the glTF export from Blender.
- Textures with transparency are opaque by default, you need to go into "Flags" for the material and enable "Transparent". I also found that this caused depth issues (background objects drawn in front of foreground objects), but this went away when I went into "Parameters" and enabled "Alpha scissor". This does mean you only get 1 bit of alpha channel, but that's better than having background objects drawn on top of stuff.
- You don't need to duplicate the mesh and call it "...-colonly", you can just call one instance of the mesh "...-col" and Godot will use it as a collision mesh.
- I have removed a hyperlink to a Windows binary of kn5conv.exe on mega.nz because I'm not completely sure of its provenance. I found the C# source for this program on GitHub and wrote a Makefile to compile it on Linux, so I'd suggest using that: https://github.com/jes/kn5-converter. If you're on Windows, either compile the C# program the usual way, or go and find a dodgy binary and hope it's not malware.
- The Assetto Corsa tracks that I looked at seem to use a shader to draw the grass, which means if you don't import the shader you just get aerial photography of the grass, which sucks. I probably want to look at either porting the grass shader from Assetto Corsa or writing a new one.
- I haven't yet worked out how to tell Godot VehicleBody to use a lower friction setting on the grass. It seems to ignore the surface friction and only use the friction of the tyre, which means the car has just as much grip no matter what surface it drives on. But if you make sure to keep the asphalt and grass collision meshes separate, you can at least assign them a different friction value.
- The tracks I looked at had a second mesh with roughly the same geometry as the road surface, called the "groove", and textured with tyre marks. I'm not sure how this works in Assetto Corsa, but in Godot it causes terrible Z-fighting as the 2 meshes occupy the same place. I just deleted the "groove" mesh, but it would be cool to be able to have the tyre marks.
Many thanks to Quy Nguyen for writing this!
How I Made Race Tracks In Godot
by Quy Nguyen
I want to point out that all you need for this to work are Blender, Godot and a .kn5 file converter (I'll explain more)
The track was not me modelling it but actually a map from Assetto Corsa (mods) where it is imported to Blender where grouping objects into appropriate groups and making the collision shapes took place in. Then export from Blender to Godot and modify the textures in Godot just like how Bastiaan Olij did it in his first car game tutorial.
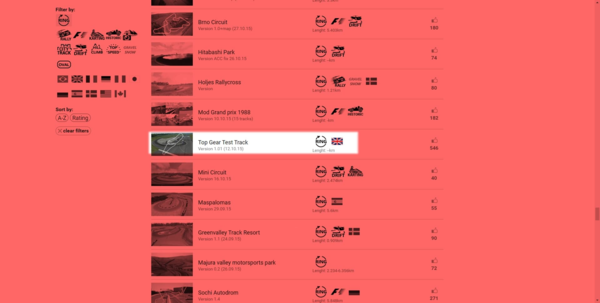
1. Getting the map from Assetto Corsa (mods) Assetto Corsa is a great game with a nice community for mods from cars to tracks, so there are plenty of mods for this game out there. My favorite and seems safest place to get mods for the game is https://assettocorsa.club/mods/tracks/. So through the link there are plenty of tracks to choose from, I'll choose Top Gear Track for this. Here's a link if you wanted to use the same track: https://assettocorsa.club/mods/tracks/top-gear-test-track.html
Click on a track and there should be a download button at the bottom of the screen
This should link you to a Google Drive where you can download the .rar file. Open the file up and you should see the map in a .kn5 file.
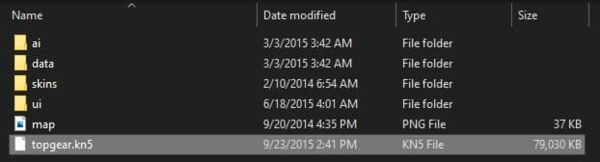
A .kn5 file is just an Assetto Corsa file so it won't work for any other application for it so it is required to have the .kn5 converter application that I mentioned on top. This application would convert it into a Wavefront (.obj) file where we'll import it through Blender later. To convert, simply copy the application and paste it in the same folder as the map
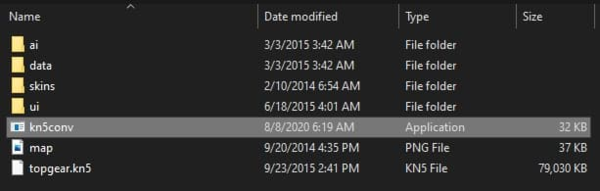
and drag the .kn5 file drop on "kn5conv" like so
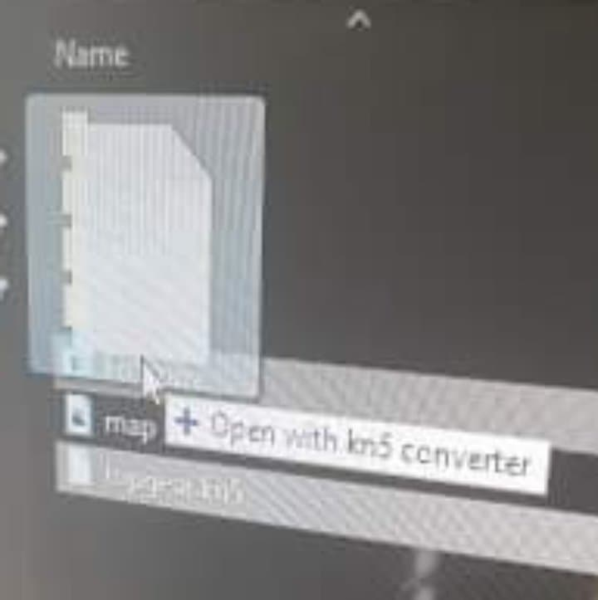
This should run the kn5 converter and it would look something like this
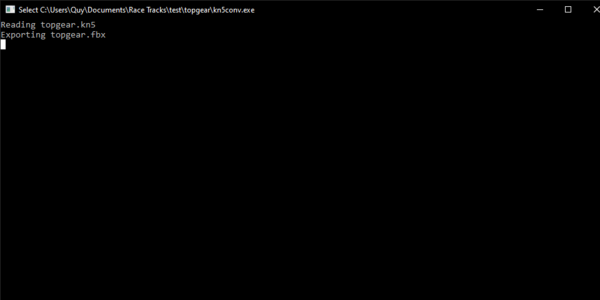
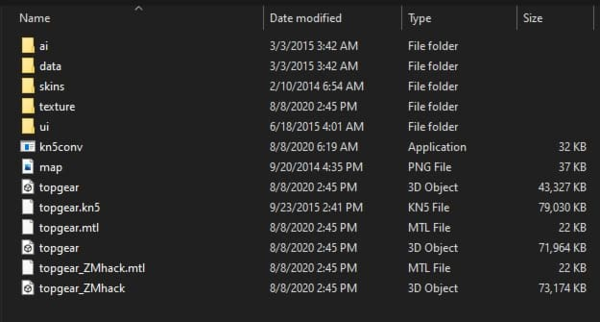
When it is done you should have a .obj file and a .fbx file of the map in the same folder where I would recommend to use the .obj file later on (I tried to use the fbx and Blender couldn't read it) and if you don't see the .obj file like below you might need to wait for the it. (You can tell if the converter is done or not by checking if it is still running at the background or not, when done it should close the program down it self)
2. Let's go to Blender
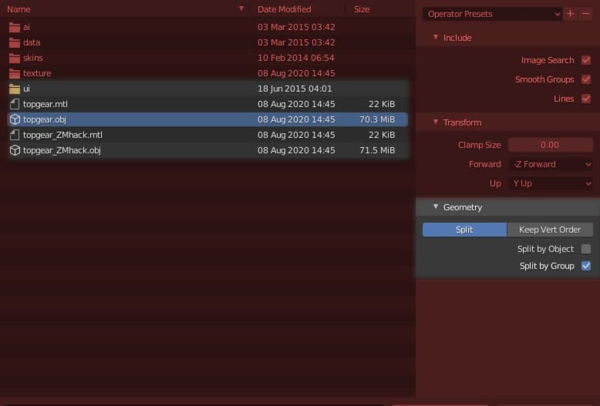
In Blender, create a new blend and delete everything (default cube, light, camera) then go to import > Wavefront(.obj) and direct to the folder that contains the map.
Notice to select the one WITHOUT the _ZMHack and if you did nothing will show up. Before importing the file, you'll need some adjustment for easier usage later on. The adjustment would be at the Geometry on the right side under Transform. Select "Split by Group" instead of the default "Split by Object" then import.
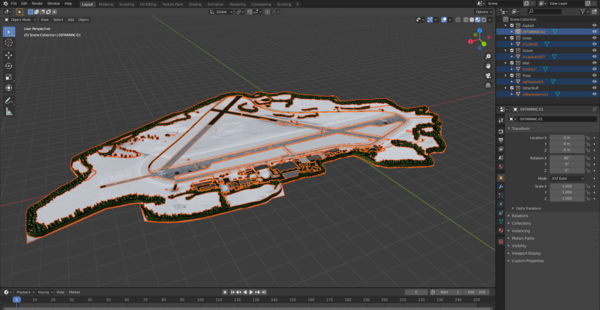
At this point you should have the track which should look like this
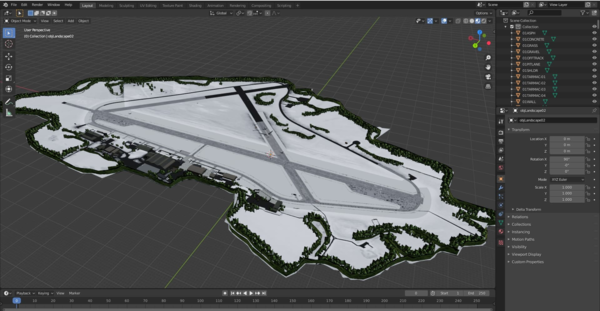
Notice that the collection contains a lot of objects and this is one of the parts where it is a bit time consuming. You would have to manually go through each individual mesh and group them into specific groups. (Asphalt, Grass, .... these group depends on you to group them for later purpose in Godot of how you want these objects to interact in your game)
During grouping them, you might come across these
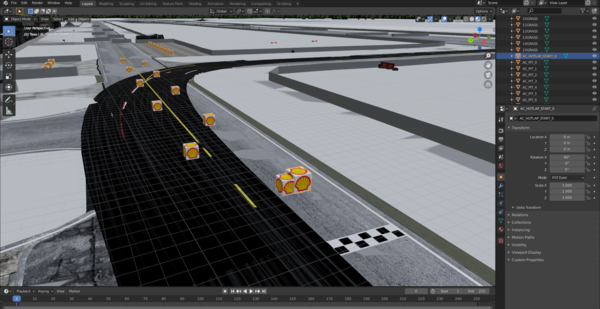
These have their purpose in Assetto Corsa for spawn points and timing checkpoints, but I would delete them here in Blender and later on use Godot's mesh to make them if lap time and different spawn points are needed.
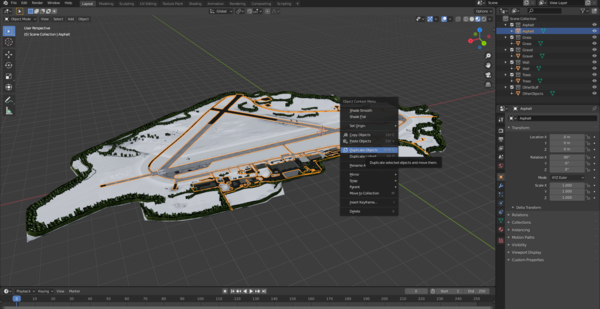
Even though we have grouped them into groups, they are a big load of objects inside each group and we don't want Godot to take its time and process them one by one so it would make sense to make all the objects of a group to a single object. Here are pictures to show the process and what I really mean a. Select all the objects in a group
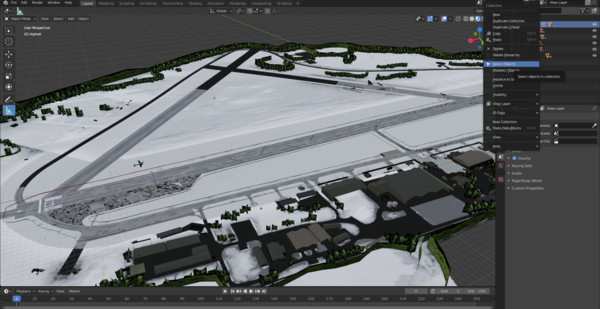
b. Join them together
c. Now each group would have one object only and not crazy amounts where Godot could crash from it. However you can always purposely make them into several objects like cones, tires where you can hit them so each can have their own collision and would not all fall together but I am not doing it here. (You should be able to do it and if you need help I am here)
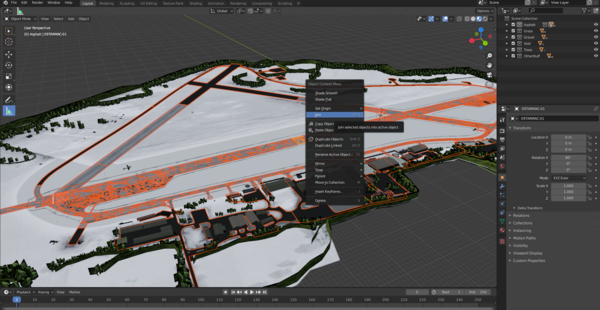
Now we are moving on to collision for Godot Making complex collision shapes in Godot is pretty difficult and I would not be able to do it, so making Blender letting Godot to know what is collision and what is mesh can be shown down here.
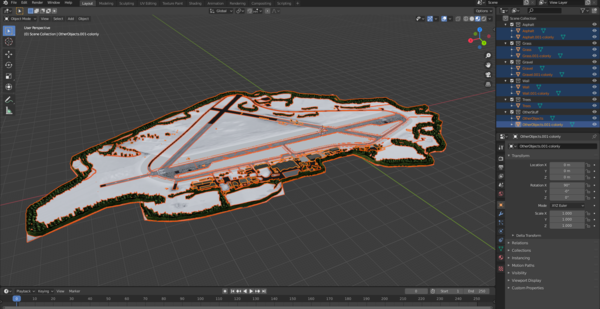
First, you would need to duplicate the objects that you wanted to have collision shape for it (interactable objects)
Second, simply name the duplicated objects with an extension of "-colonly". Godot can recognize mesh with -colonly as collision shape
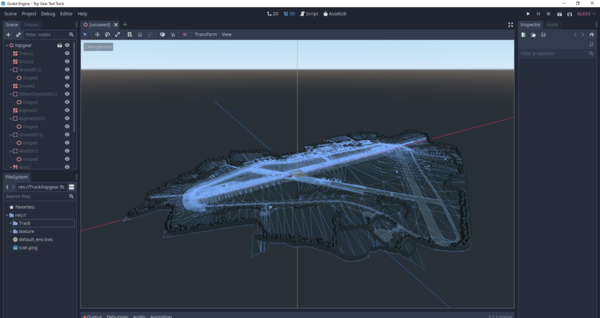
This should be the very end of the process in Blender, all left to do is export as an FBX file to Godot (we are doing FBX because it is guaranteed for Godot to recognize the collision shapes)
At this point I am sure you can finish the rest, a problem I am not sure how to avoid is how can you import an fbx file with materials on it? Applying everything manually all over again would make me sick 😂